

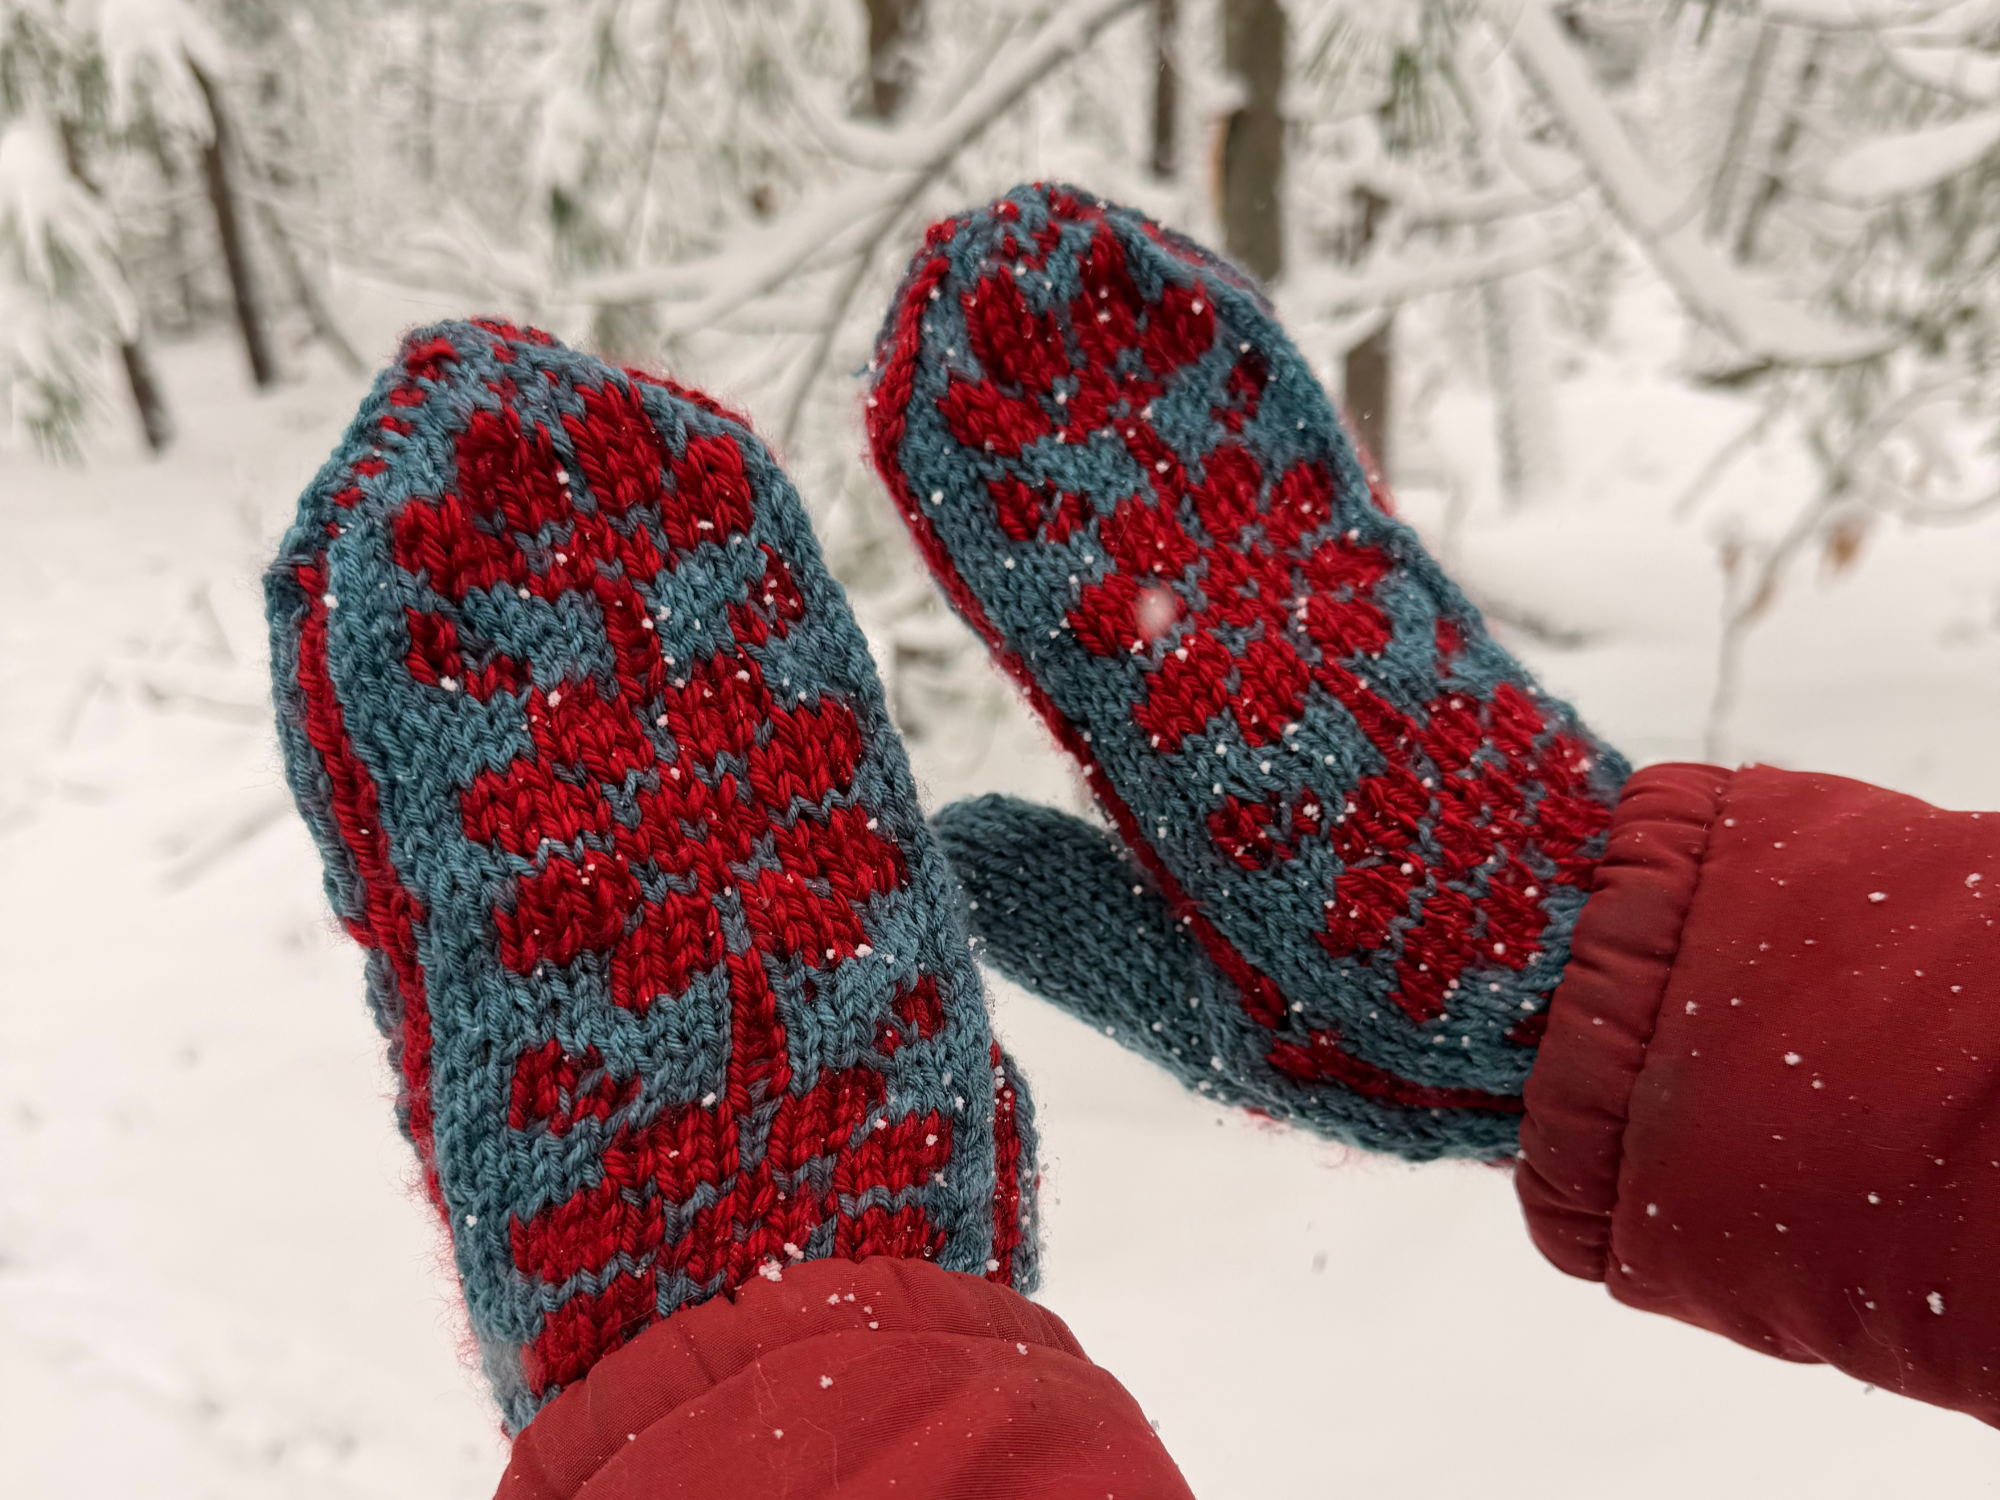
What I’ve been knitting this November
Here’s what I’ve been knitting the past couple of weeks—with links to patterns, if you’re a fellow maker!
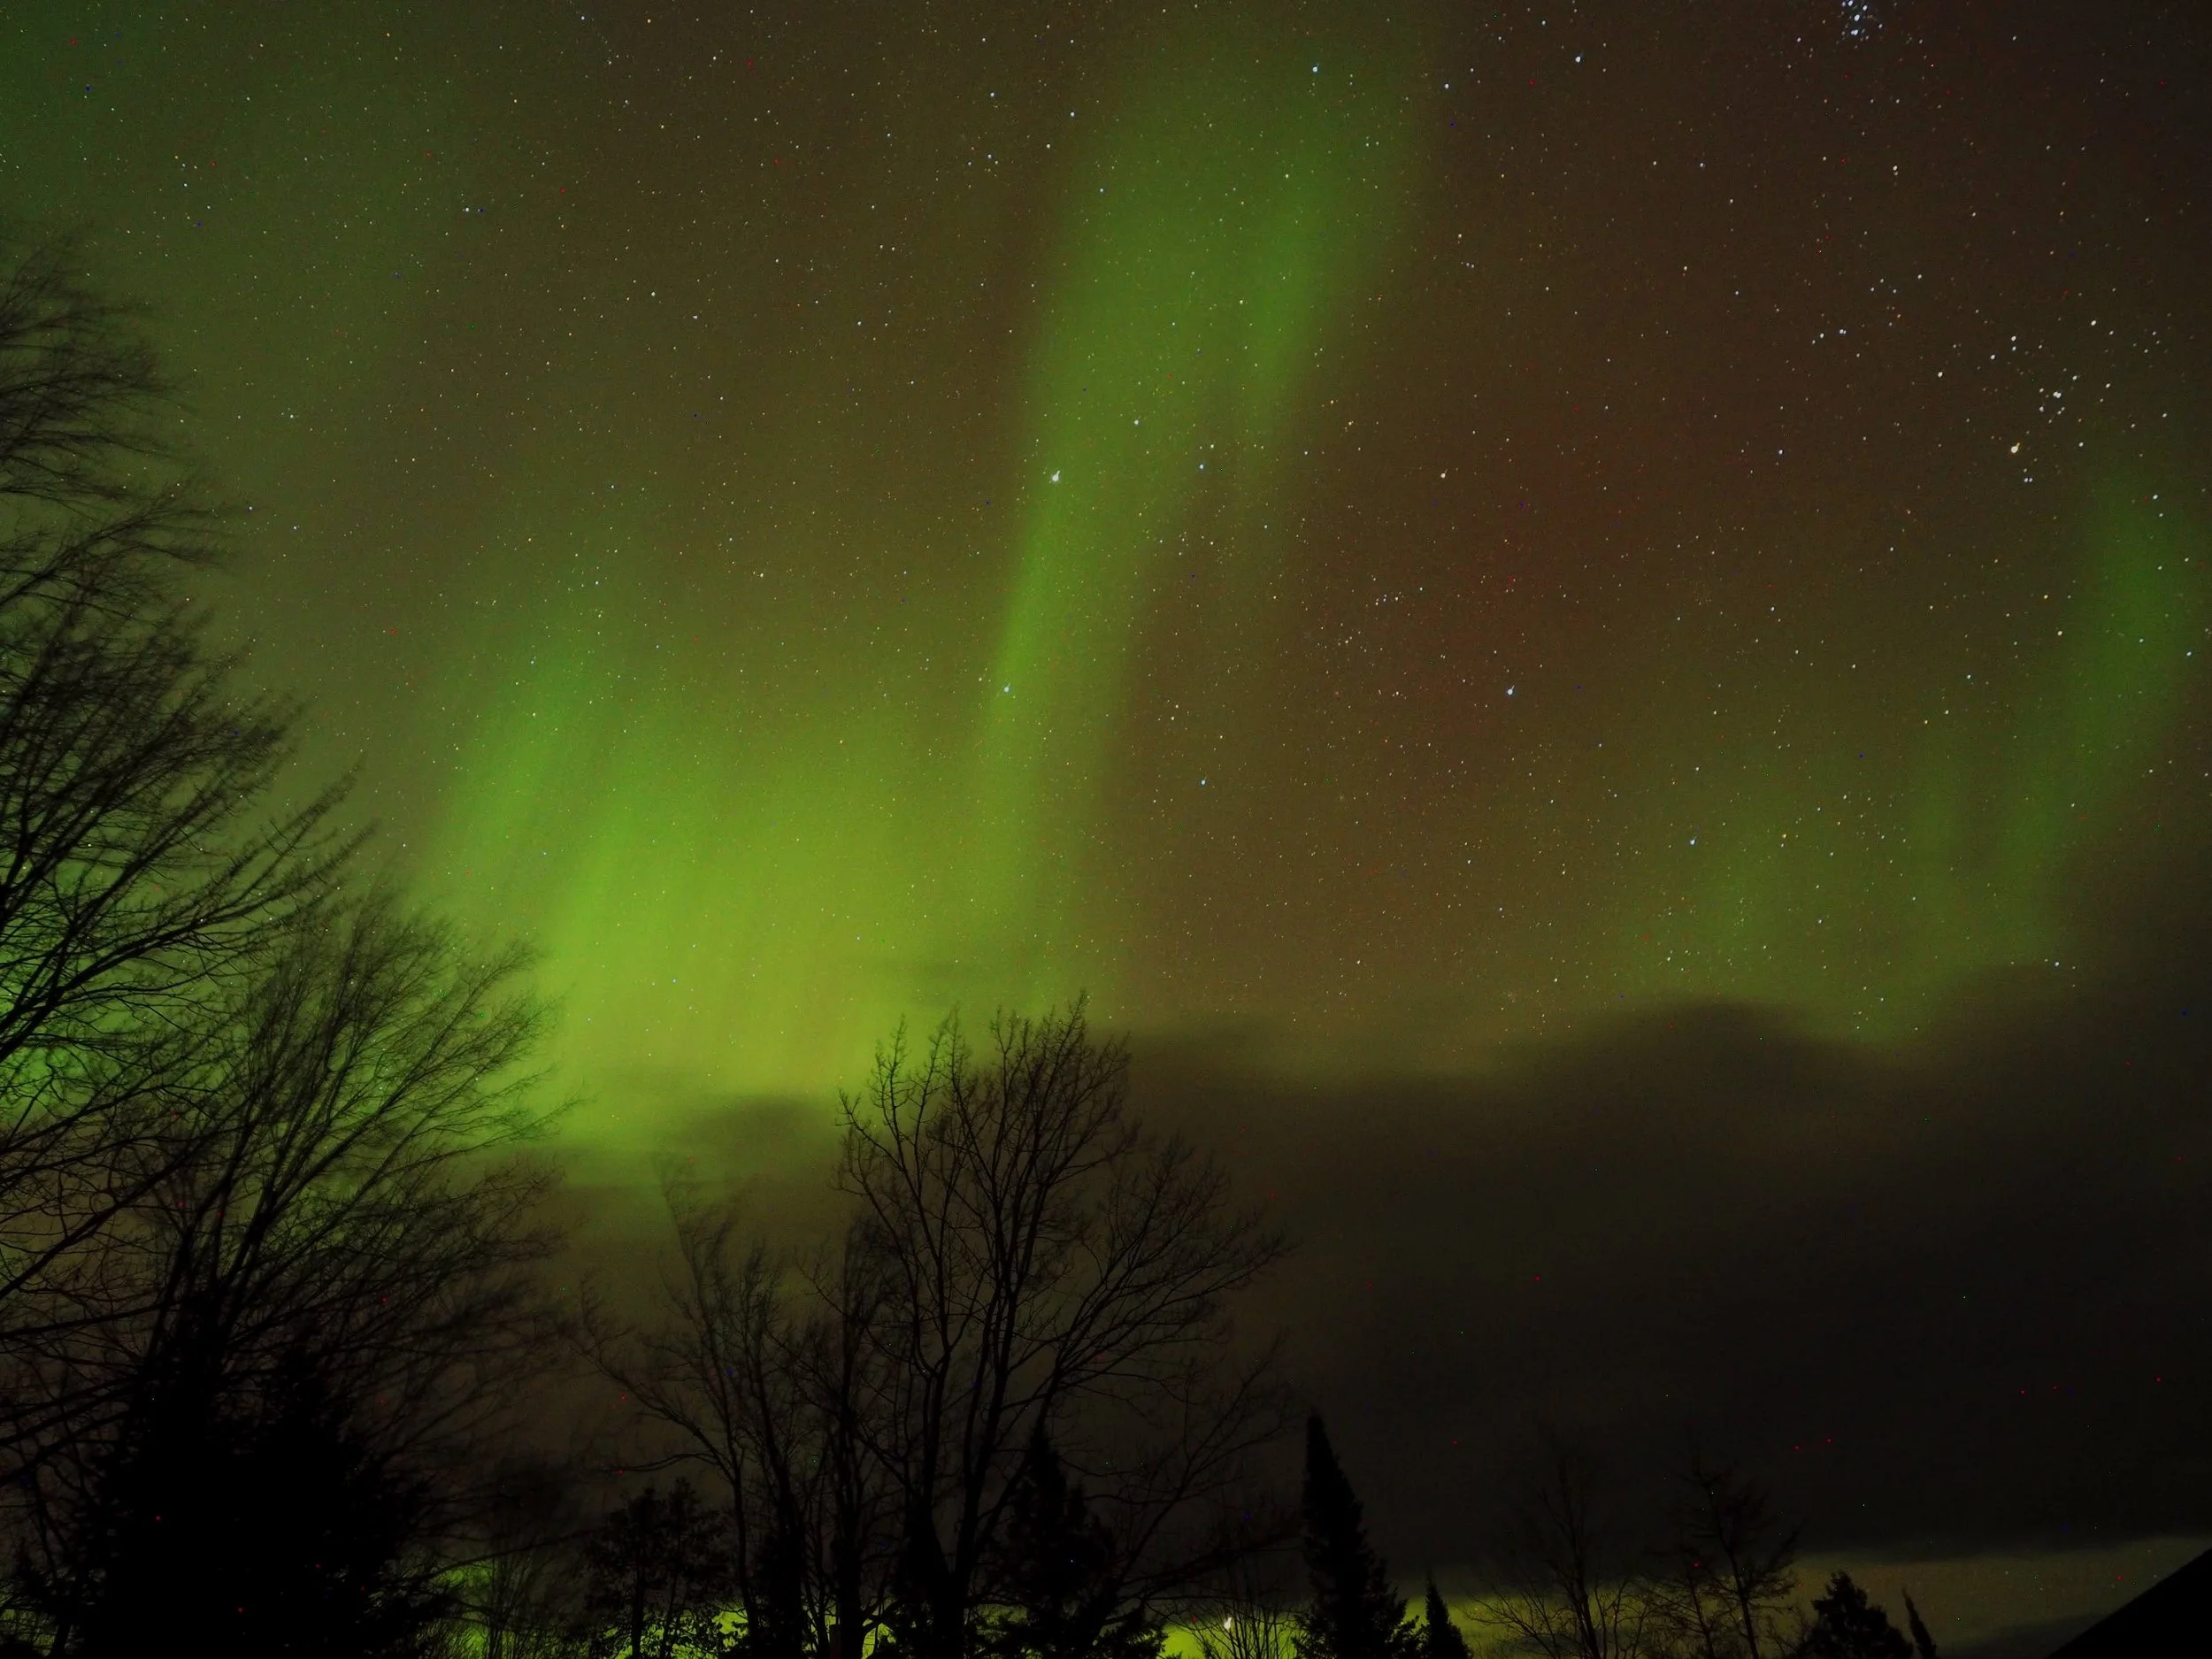
An Evening with the Aurora
Standing in my driveway with the northern lights dancing overhead. Does it get any better?
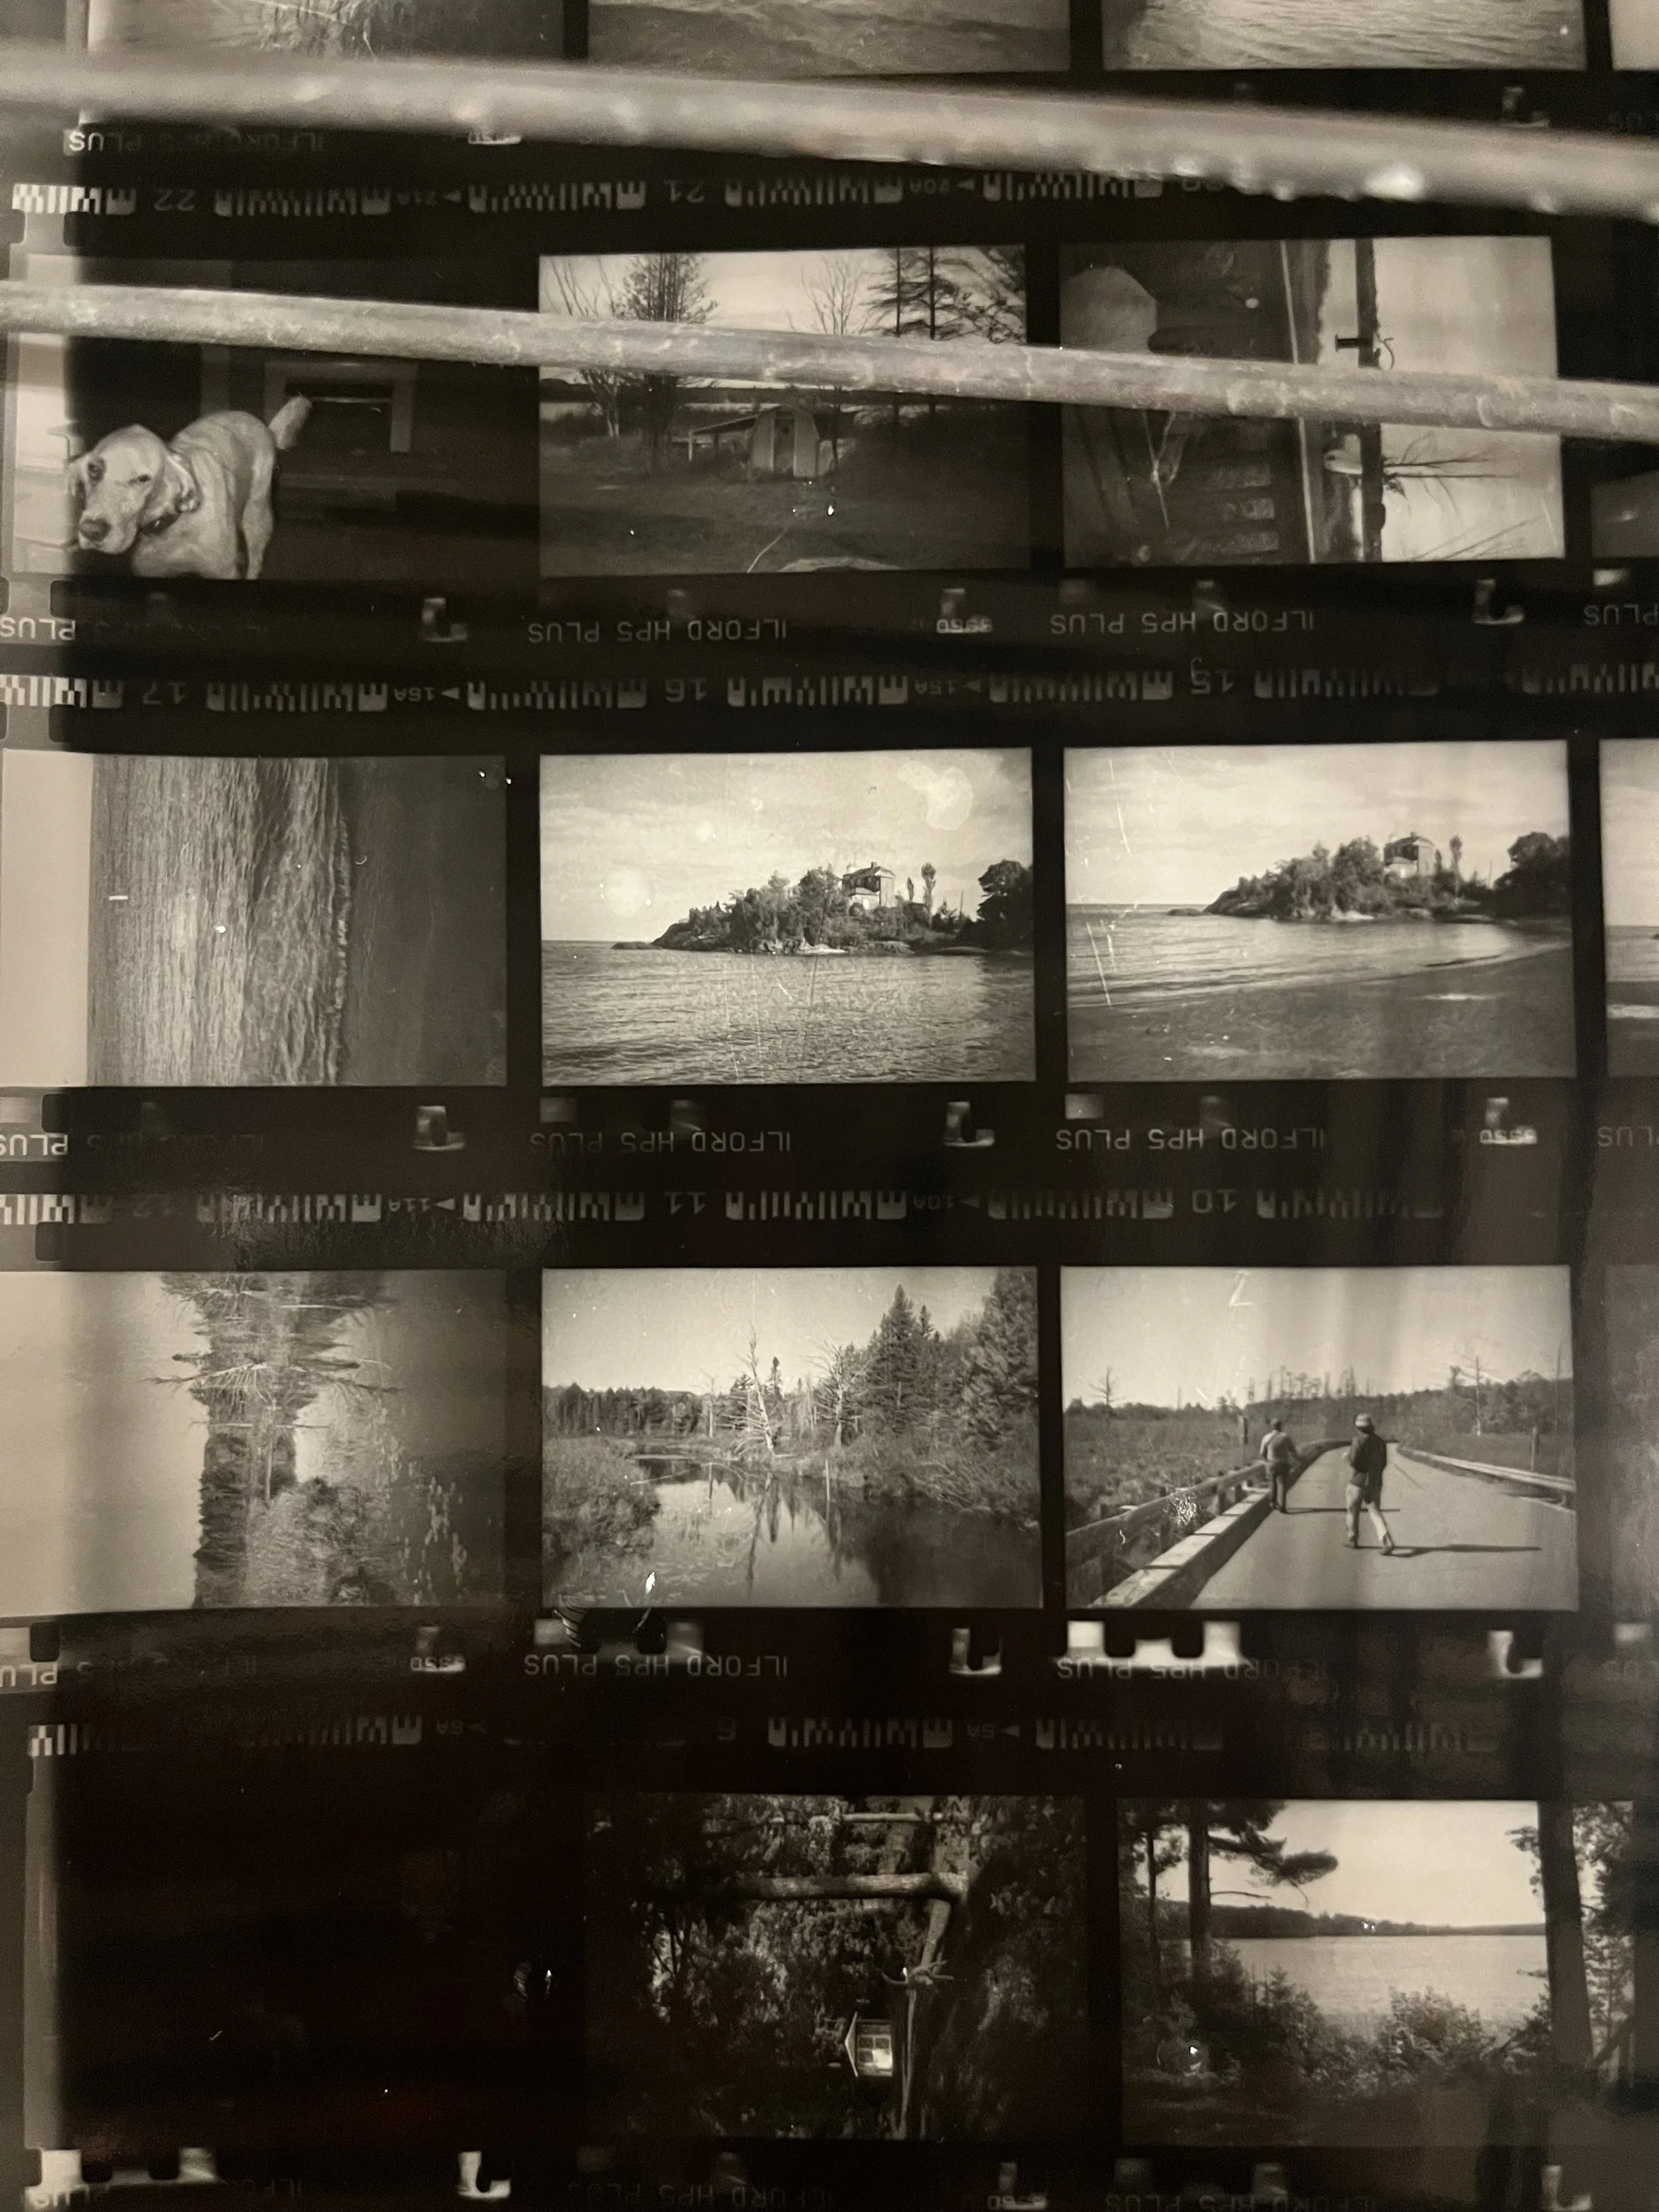
I joined another B/W film dev class
I got to develop more film and use a darkroom for the first time.

I joined a B/W film development class
I learned how to process B/W film—and it was awesome!
New Blog Coming Soon!
New Blog Coming Soon!
(Everything earlier than this post is a reupload from my old blog)
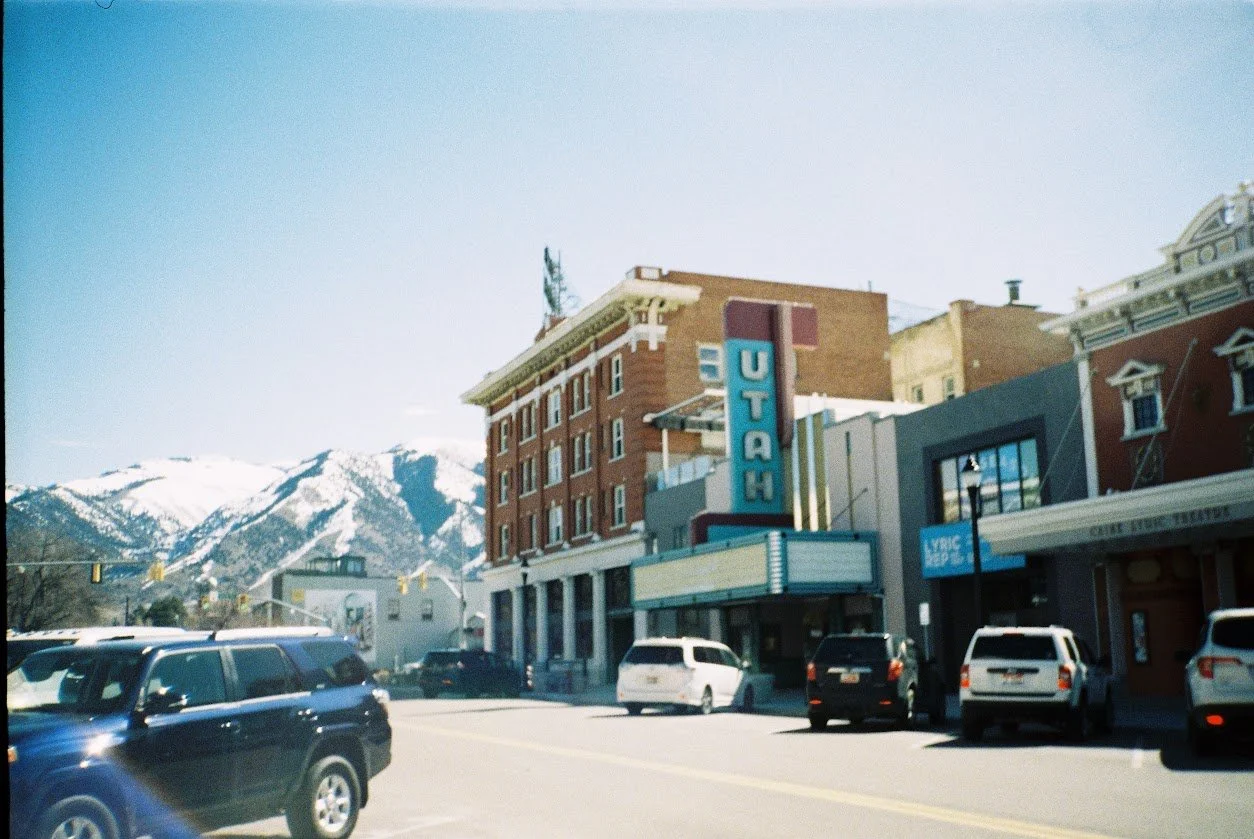
Thoughts on Sunsets | Yooper Staycation Series
In this post, I decided to write about sunsets. Watching the sunset helps me feel a little more present, and a little less cold. I also decided that yes, you can still have a “staycation” when you’re only 5 minutes from your house—so this counts.
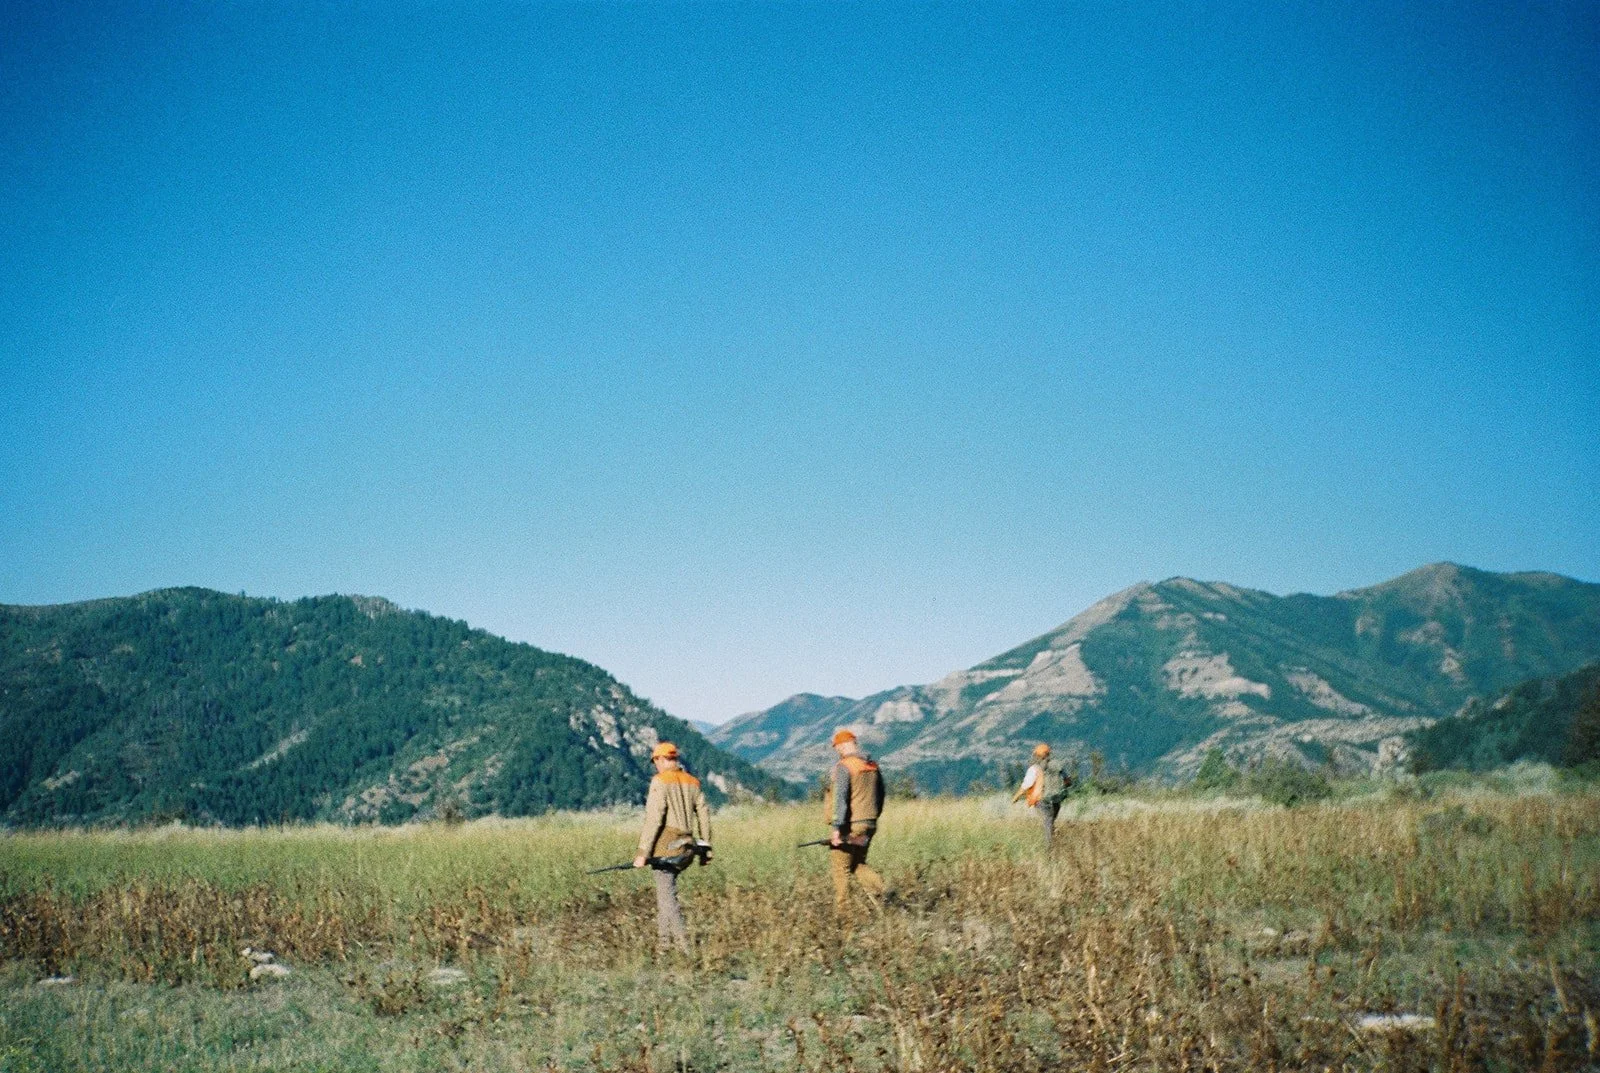
Backpacking in the Porcupine Mountains | Yooper Staycation Series
In late September 2021, we took a short trip to the Porcupine Mountains—my first experience camping with the puppy I brought home this past summer.
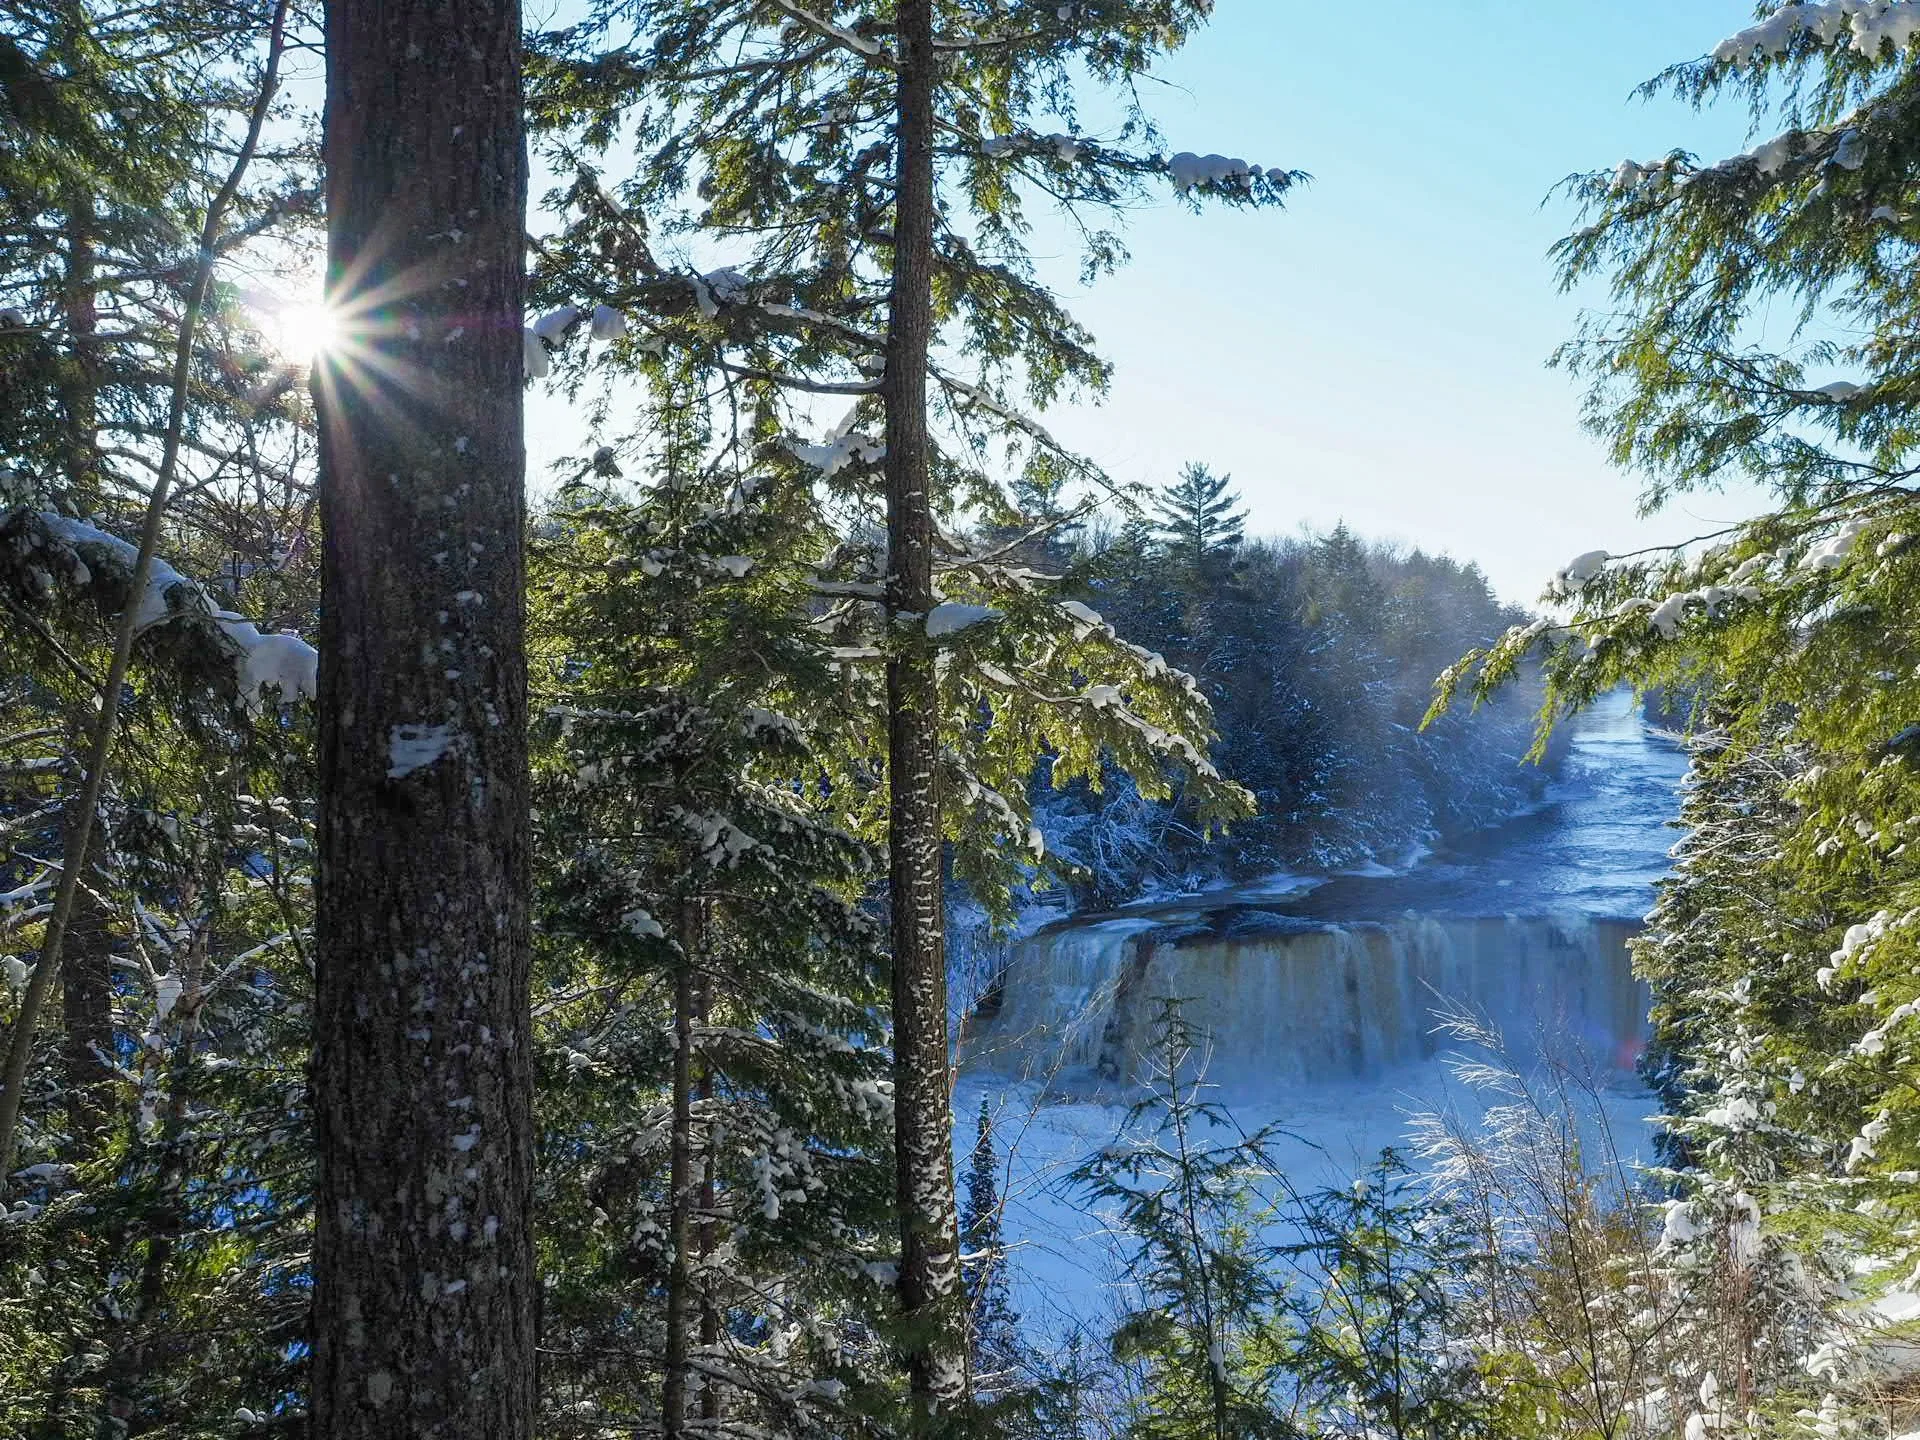
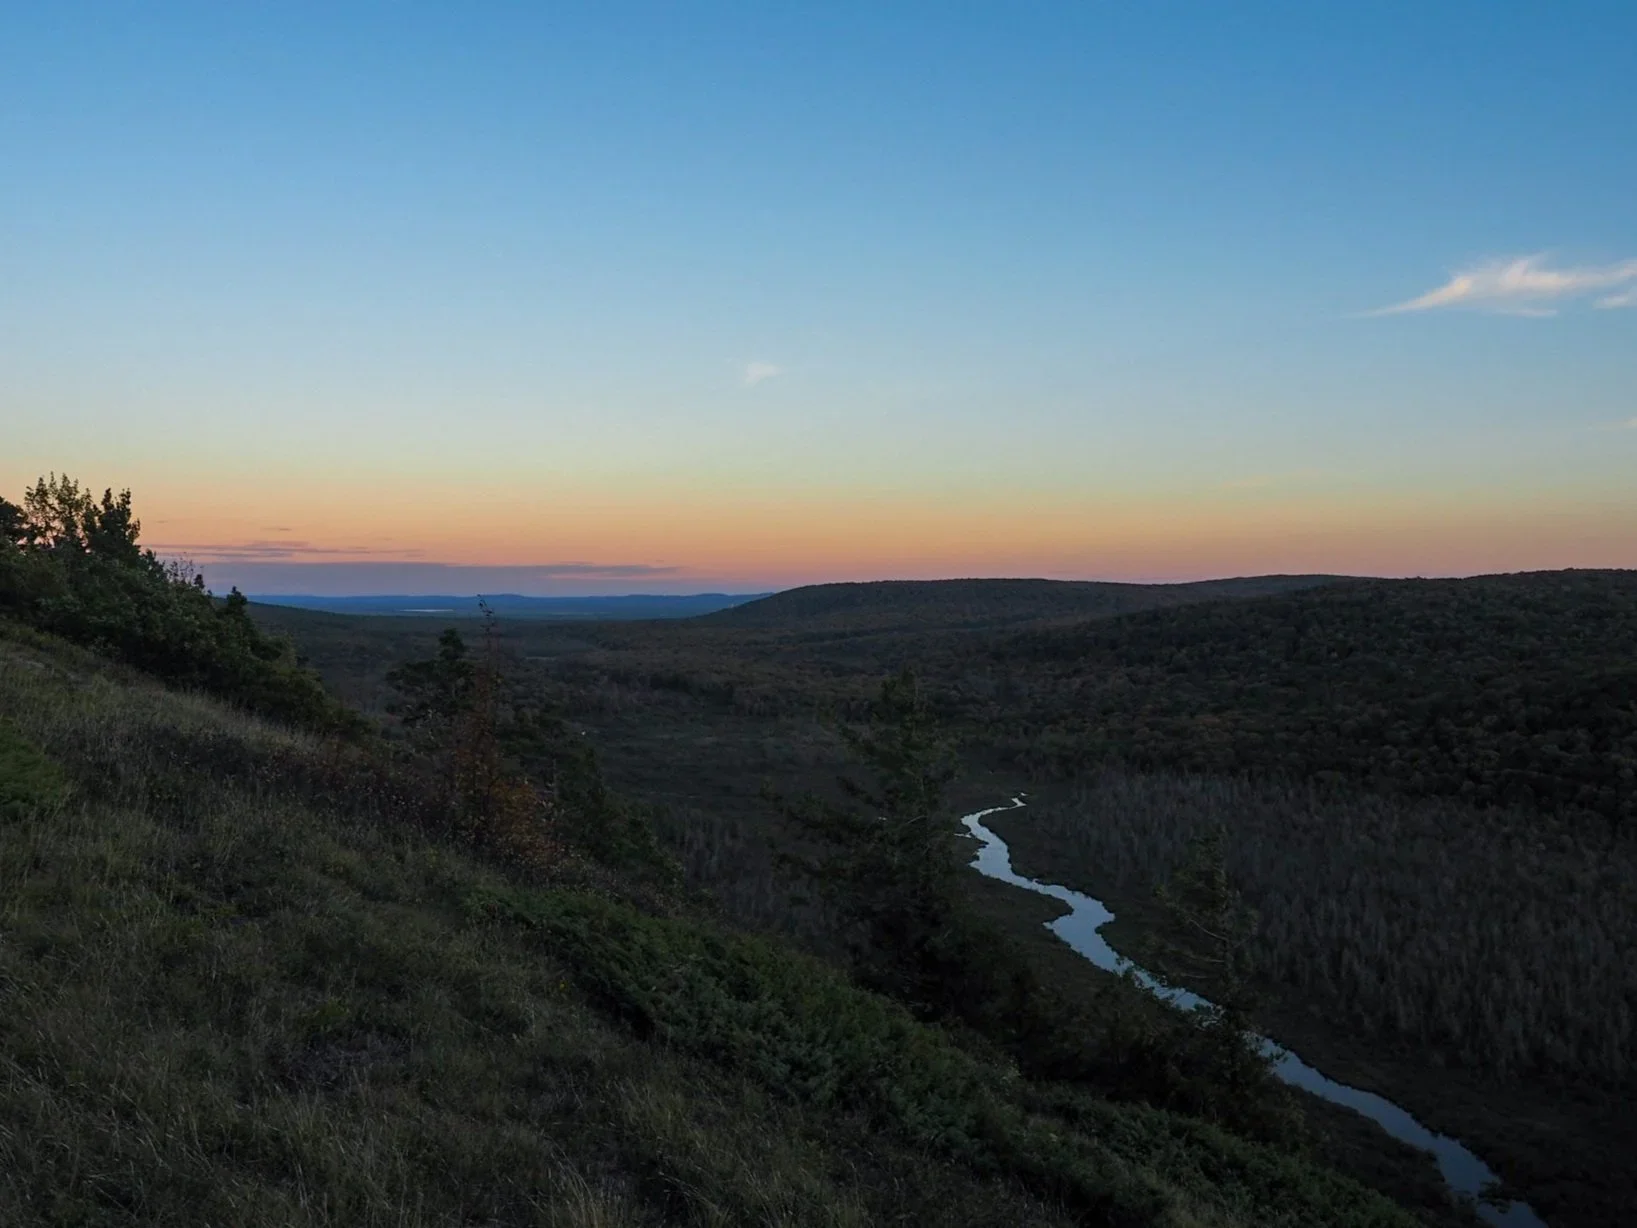
Tahquamenon Falls in Winter | Yooper Staycation Series
In January 2022, we took a short trip to Tahquamenon Falls and Sault Ste. Marie. It was my first trip to the Soo ever and my first visit to the falls during winter.
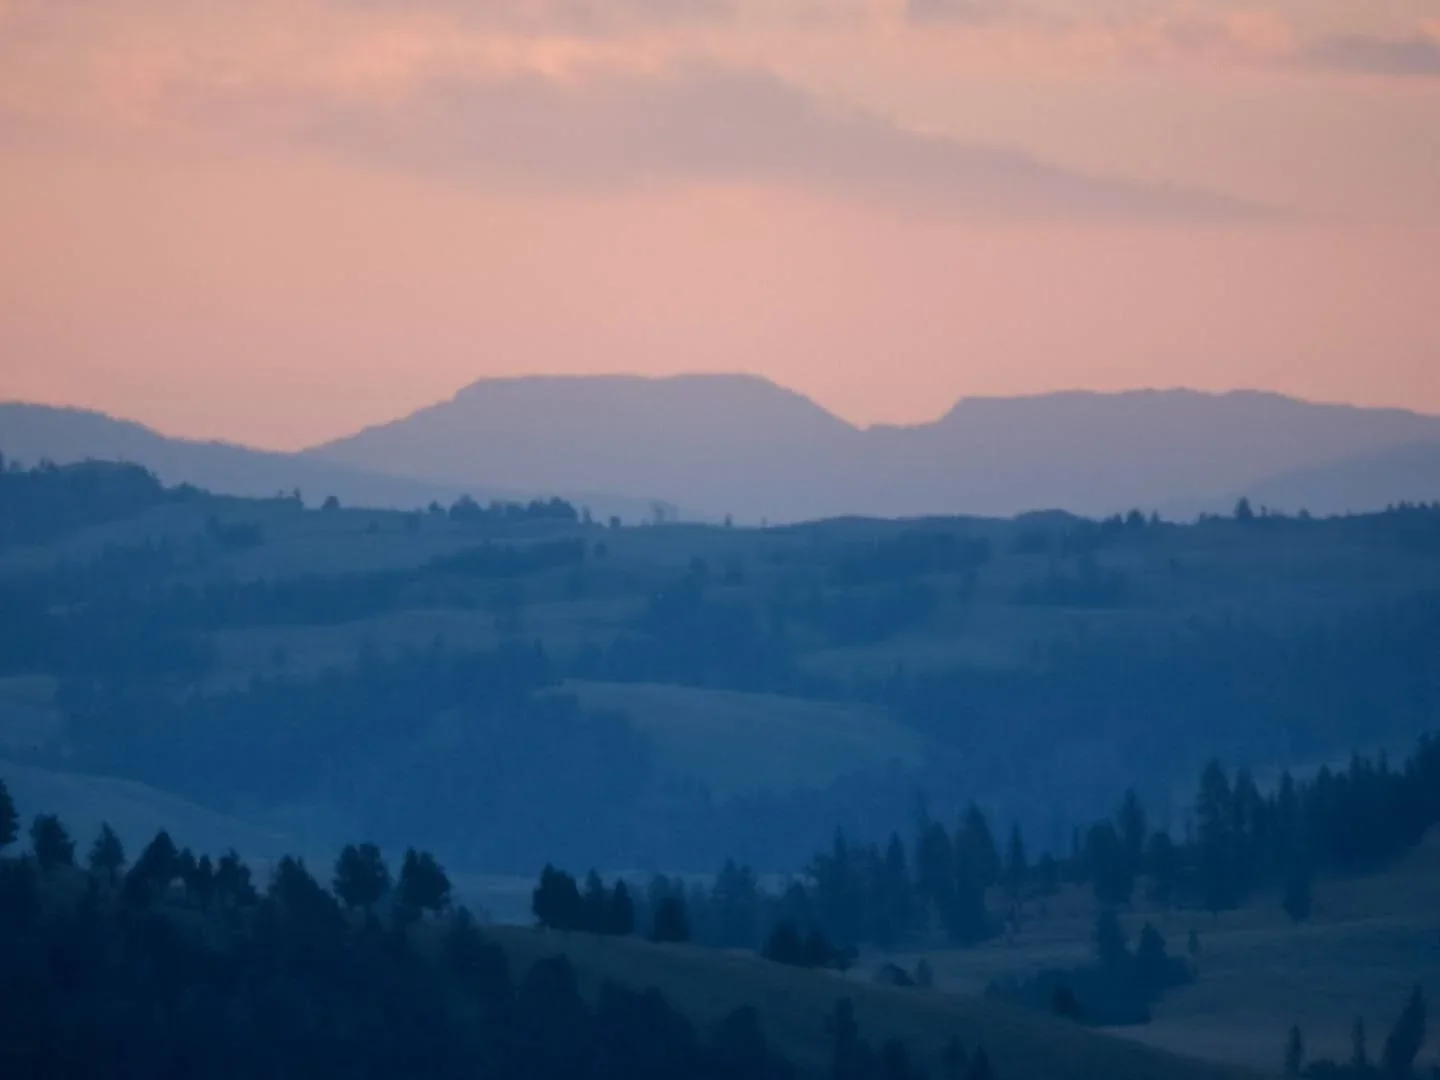
Morning in Yellowstone
I created a video about what you might see if you’re awake for the sunrise in Yellowstone National Park.